
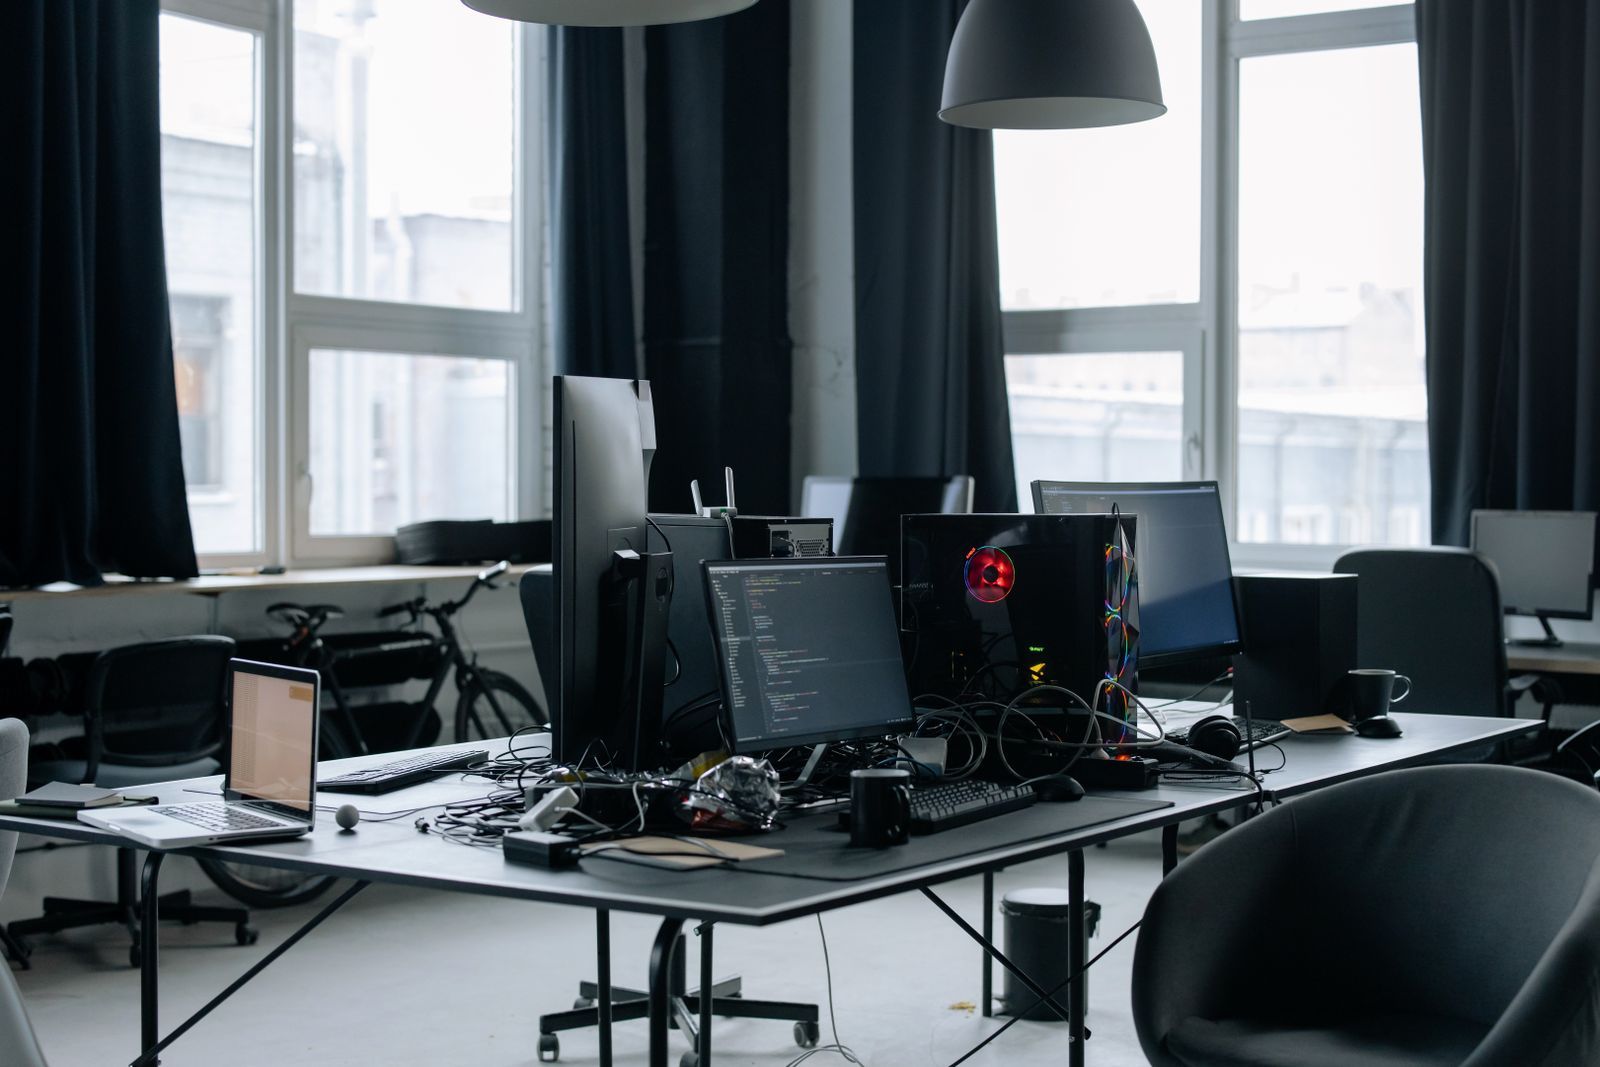

Running an AI video model on your own computer sounds intimidating, but the process has become much simpler. If you have a suitable graphics card and an afternoon, you can go from nothing to a working local video setup. This guide walks through each step in order, with the checks that prevent most beginner problems.
Step 1: check your hardware
You need:
- an NVIDIA graphics card with at least 12 GB of VRAM for a comfortable start (8 GB can work with small or quantised models);
- at least 32 GB of system RAM;
- 100 GB or more of free space on a fast SSD;
- Windows 10/11 or a recent Linux distribution. Macs with Apple Silicon can run some models but with fewer options.
To check your VRAM on Windows, open Task Manager, go to Performance and select your GPU. On Linux, the nvidia-smi command shows it. If your hardware falls short, read Renting a Cloud GPU instead; the rest of this guide applies there too.
Step 2: update your graphics driver
Install the latest stable driver from NVIDIA’s official website. Many errors that look like model problems are actually old drivers. Restart after installing.
Step 3: install ComfyUI
ComfyUI is the most widely used interface for open video models. There are two easy ways to install it:
- Desktop or portable package: download the official package for your system from the ComfyUI project, unzip or install it, and run the launcher. This includes Python and the main dependencies, which avoids most setup problems.
- Manual install: clone the repository, create a Python environment and install the requirements. More flexible, but only worth it if you are comfortable with the command line.
Launch ComfyUI and open the address it shows in your browser, usually a local address on your own machine. If you see the node canvas, the install worked.
Step 4: install the ComfyUI Manager
The Manager is an extension that lets you install custom nodes and missing components from inside ComfyUI. Many video workflows depend on custom nodes, and the Manager can detect and install them automatically. Recent packages often include it already.
Step 5: choose and download a model
Pick a well-supported open video model that fits your VRAM; see Open-Source AI Video Models. Then:
- Download the weights only from the official source: the developer’s repository or their official page on a major model hub.
- Prefer the
.safetensorsformat, which cannot run hidden code, over older pickle-based formats. - Download the matching text encoder and VAE files if the model’s instructions list them separately.
- Place each file in the correct ComfyUI folder, for example
models/diffusion_models,models/text_encodersandmodels/vae, as the instructions specify.
If your VRAM is limited, look for an officially provided or widely trusted quantised version.
Step 6: load a workflow
Workflows are saved node graphs. Model authors and ComfyUI often provide example workflows for new models, and many can be loaded by simply dragging a workflow file or an example video into the ComfyUI window. When you load it:
- red nodes mean missing custom nodes: use the Manager to install them, then restart;
- missing-model warnings mean a file is in the wrong folder or has a different name than the workflow expects; select the correct file in the loader node.
Step 7: run the example unchanged
Before editing anything, run the workflow exactly as provided. Your first run may be slow while models load into memory. If it completes and produces a clip, your setup works. If it fails, read the error in the console window; the most common causes are covered below.
Step 8: make your own first clip
Now change one thing at a time:
- Replace the prompt with your own short shot description.
- Keep the resolution and frame count the same for your first tests.
- Note the seed when you like a result.
- Only then experiment with resolution, length, steps and guidance.
Our guide How to Write Prompts for AI Video Generators helps you get good results quickly.
Common errors and fixes
- “CUDA out of memory”: lower resolution or frame count, use a quantised model, close other GPU programs, or enable offloading options.
- Missing nodes: install them through the Manager and restart ComfyUI.
- Model not found: check the file is in the folder the loader node uses and refresh the node.
- Black or noisy output: usually a mismatched VAE or text encoder; use the files the model’s instructions specify.
- Extremely slow generation: check that the GPU is being used, not the CPU, and that the driver is current.
Organise from day one
Create folders for your own workflows, prompts and outputs. ComfyUI saves the workflow inside each generated file’s metadata in many cases, so keep your outputs: they let you recreate a result exactly. Back up your workflows and note which model version each one uses.
Keep it safe
Custom nodes are code from third parties. Install popular, actively maintained ones, read their pages, and avoid random downloads. Keep ComfyUI and nodes updated, but not in the middle of a project. Our guide Keeping Your Local AI Video Setup Safe covers this in detail.
What to expect from your first week
The first day is mostly setup and one or two successful clips. By the end of the first week, most people have a workflow they trust, a feel for how long each setting takes on their hardware and a small folder of prompts that work. Do not judge local generation on day one: speed and quality both improve as you learn which settings your card handles best.
Frequently asked questions
Do I need to know Python?
No. The packaged ComfyUI versions handle Python for you. You only need the command line if you choose a manual install or want to run things on a remote server.
How long does setup take?
Usually one to three hours, mostly downloads and troubleshooting the first workflow.
Can I run several models?
Yes, as long as you have disk space. Only the one you use is loaded into VRAM at a time.
