


Generating clips is only half of making an AI video. The edit is where loose shots become a story with rhythm and feeling. Editing AI footage has its own challenges, such as short clips, small artifacts and mismatched colours, but the core principles are the same as traditional editing. This guide covers both.
Organise before you cut
AI projects produce a lot of files. Before editing:
- create folders per scene, and inside them separate “selects” from “rejects”;
- rename selected clips with scene and shot numbers, such as “S02_SH05_take3”;
- note seeds and prompts for selected takes in a simple sheet;
- check frame rates: AI clips may come at 16, 24 or 30 fps. Decide your project frame rate, usually 24 or 30, and convert or interpolate where needed.
Build a rough cut
Place your best takes on the timeline in script order, with narration or temporary music. Do not polish yet. Watch the whole thing and note where it feels slow, confusing or rushed. A rough cut shows you what the film needs, which often differs from what the script suggested.
Pacing with short clips
AI clips are short, which suits modern pacing. Still, think about rhythm:
- Establishing shots can hold for 3 to 5 seconds to set the mood.
- Action shots often work at 1 to 3 seconds.
- Emotional close-ups may hold longer, if the clip is stable enough.
- Vary shot lengths; identical durations feel mechanical.
- Cut to music: align cuts with beats or phrases for energy.
Use the best part of each clip
The first few frames of AI clips are sometimes slightly off as motion starts, and artifacts often build up near the end. Use the middle section. Trimming the first and last half-second of each clip is a simple habit that raises quality immediately.
Cut on motion
Cutting during movement, such as a head turn, a step or a camera move, draws the viewer’s attention to the action rather than to small differences between shots. This is a classic editing technique and particularly useful for hiding character inconsistencies in AI footage.
Hide artifacts with editing
- Cut away just before a hand melts or a face drifts.
- Use cutaways: details, reactions or environment shots to bridge problem moments.
- Speed ramps: slightly speeding up a clip can hide wobble; slowing a stable section can extend it.
- Crop and reframe: scale in slightly to remove a bad edge or background object.
- Transitions: a quick dissolve or a flash can smooth a difficult cut, but use them sparingly.
- Film grain and light effects: subtle grain or light leaks unify footage and soften flaws.
Match colour across shots
Different generations rarely match exactly in colour and brightness. Fix this in two steps:
- Correction: balance exposure and white balance so shots in the same scene look like the same moment.
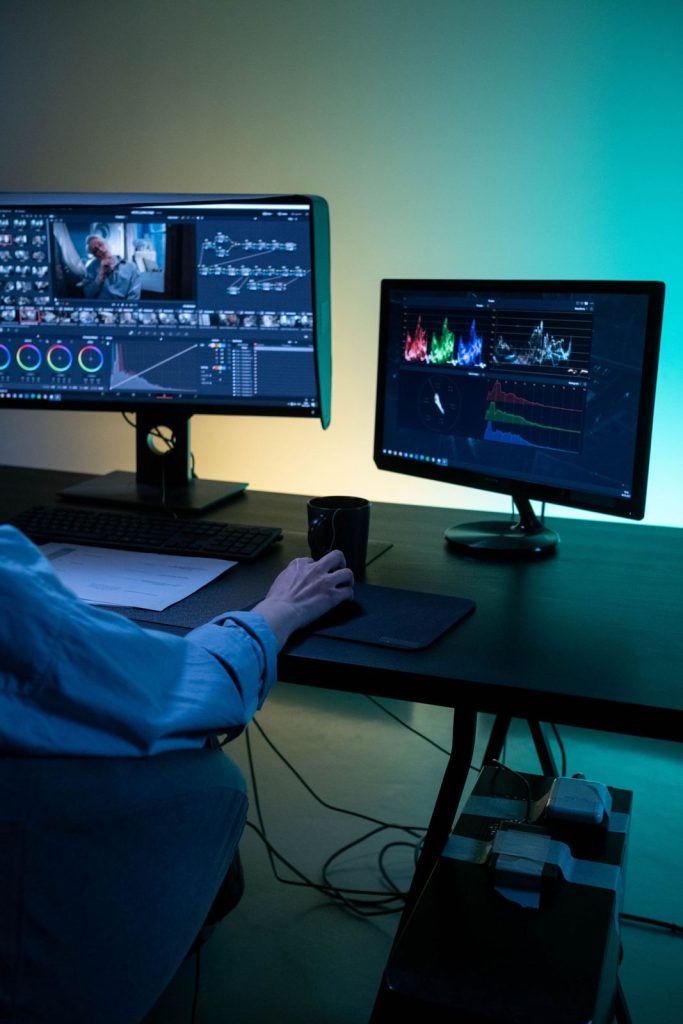
- Grading: apply a consistent look across the whole film, for example with an adjustment layer or a look-up table.
Grading is one of the most effective ways to make AI clips feel like one film rather than a collection of samples.
Add motion in the editor
Editors can create movement that the generator struggled with. A slow scale-up mimics a push-in; a slow position change mimics a pan; subtle parallax on layered stills creates depth. Combining stable generated clips with editor-added moves gives you control without artifacts.
Titles and text
Add all text in the editor: titles, captions, signs and credits. Generators rarely produce readable text. For short-form platforms, captions are essential because many people watch without sound.
Sound is half the edit
Lay in ambient sound under every scene, add effects for key actions, and balance music below narration. Good sound hides visual flaws surprisingly well and makes viewers forgive small artifacts. See Adding Voiceover, Music and Sound Effects.
Review with fresh eyes
Watch the edit after a break, ideally on the device your audience will use. Then show it to someone else and watch their reactions rather than the screen. Where they look confused or bored is where the edit needs work.
Export settings
| Destination | Typical settings |
|---|---|
| YouTube | 16:9, 1080p or 4K, 24/30 fps, H.264 or H.265, high bitrate |
| Short-form (vertical) | 9:16, 1080×1920, 30 fps, H.264 |
| Client delivery | High-quality master (for example ProRes) plus compressed copies |
| Website background | Short loop, small file size, no audio |
Keep a high-quality master export so you can make new versions later without quality loss.
Editing software
Any modern editor works. Free options are capable enough for most AI projects. Choose one with good colour tools, keyframe animation and simple frame rate handling. Learning one editor well is more valuable than switching between many.
A quick final checklist
- Every clip trimmed to its best section.
- No visible melting hands, drifting faces or garbled text.
- Colour matched within scenes and graded across the film.
- Ambient sound under every shot, levels balanced.
- Titles and captions spelled correctly and readable on a phone.
- AI disclosure added where the platform requires it.
- Master file saved and backed up.
An example edit session
Imagine a 60-second mood piece about a lighthouse in a storm. You have 18 selected takes. You start by laying them out in order with the music track, cutting each to roughly match the beat. On first watch, the middle feels slow, so you remove two similar wide shots and tighten the rest. Shot 9 has a drifting face in its last second, so you cut away to a close-up of waves crashing. The colour varies between generations, so you balance exposure on each shot and then apply one cool, desaturated grade across the whole timeline. You add wind and rain ambience, a few thuds of waves on rock and a creak of the lighthouse door. Finally, you add a title card in the editor. An hour of focused editing has turned 18 separate clips into one coherent short.
Frequently asked questions
What frame rate should my project use?
24 fps for a cinematic feel, 30 fps for social media. Convert or interpolate clips to match.
How do I make AI clips feel less “AI”?
Consistent grading, film grain, real sound design and confident pacing.
Should I edit as I generate?
Yes. A rough cut early on tells you which shots you still need.
